Date: 11th of April 2013
Participating group members: Thomas Winding, Kenneth Baagøe and Morten Djernæs Bech.
Activity duration: 7 hours
Overall goal
To build an autonomous Lego car that can complete the Alishan train track as fast as possible using Lego NXT.
Overall plan
First of all, we’ll build a foundation for the car which has the lowest possible centre of gravity.
We’ll try different types of sensors: compass, gyro, lightsensors – testing which will be the most useful in this particular assignment. We will attempt to construct the car in such a way that we have the most control when turning left or right.
Todays work
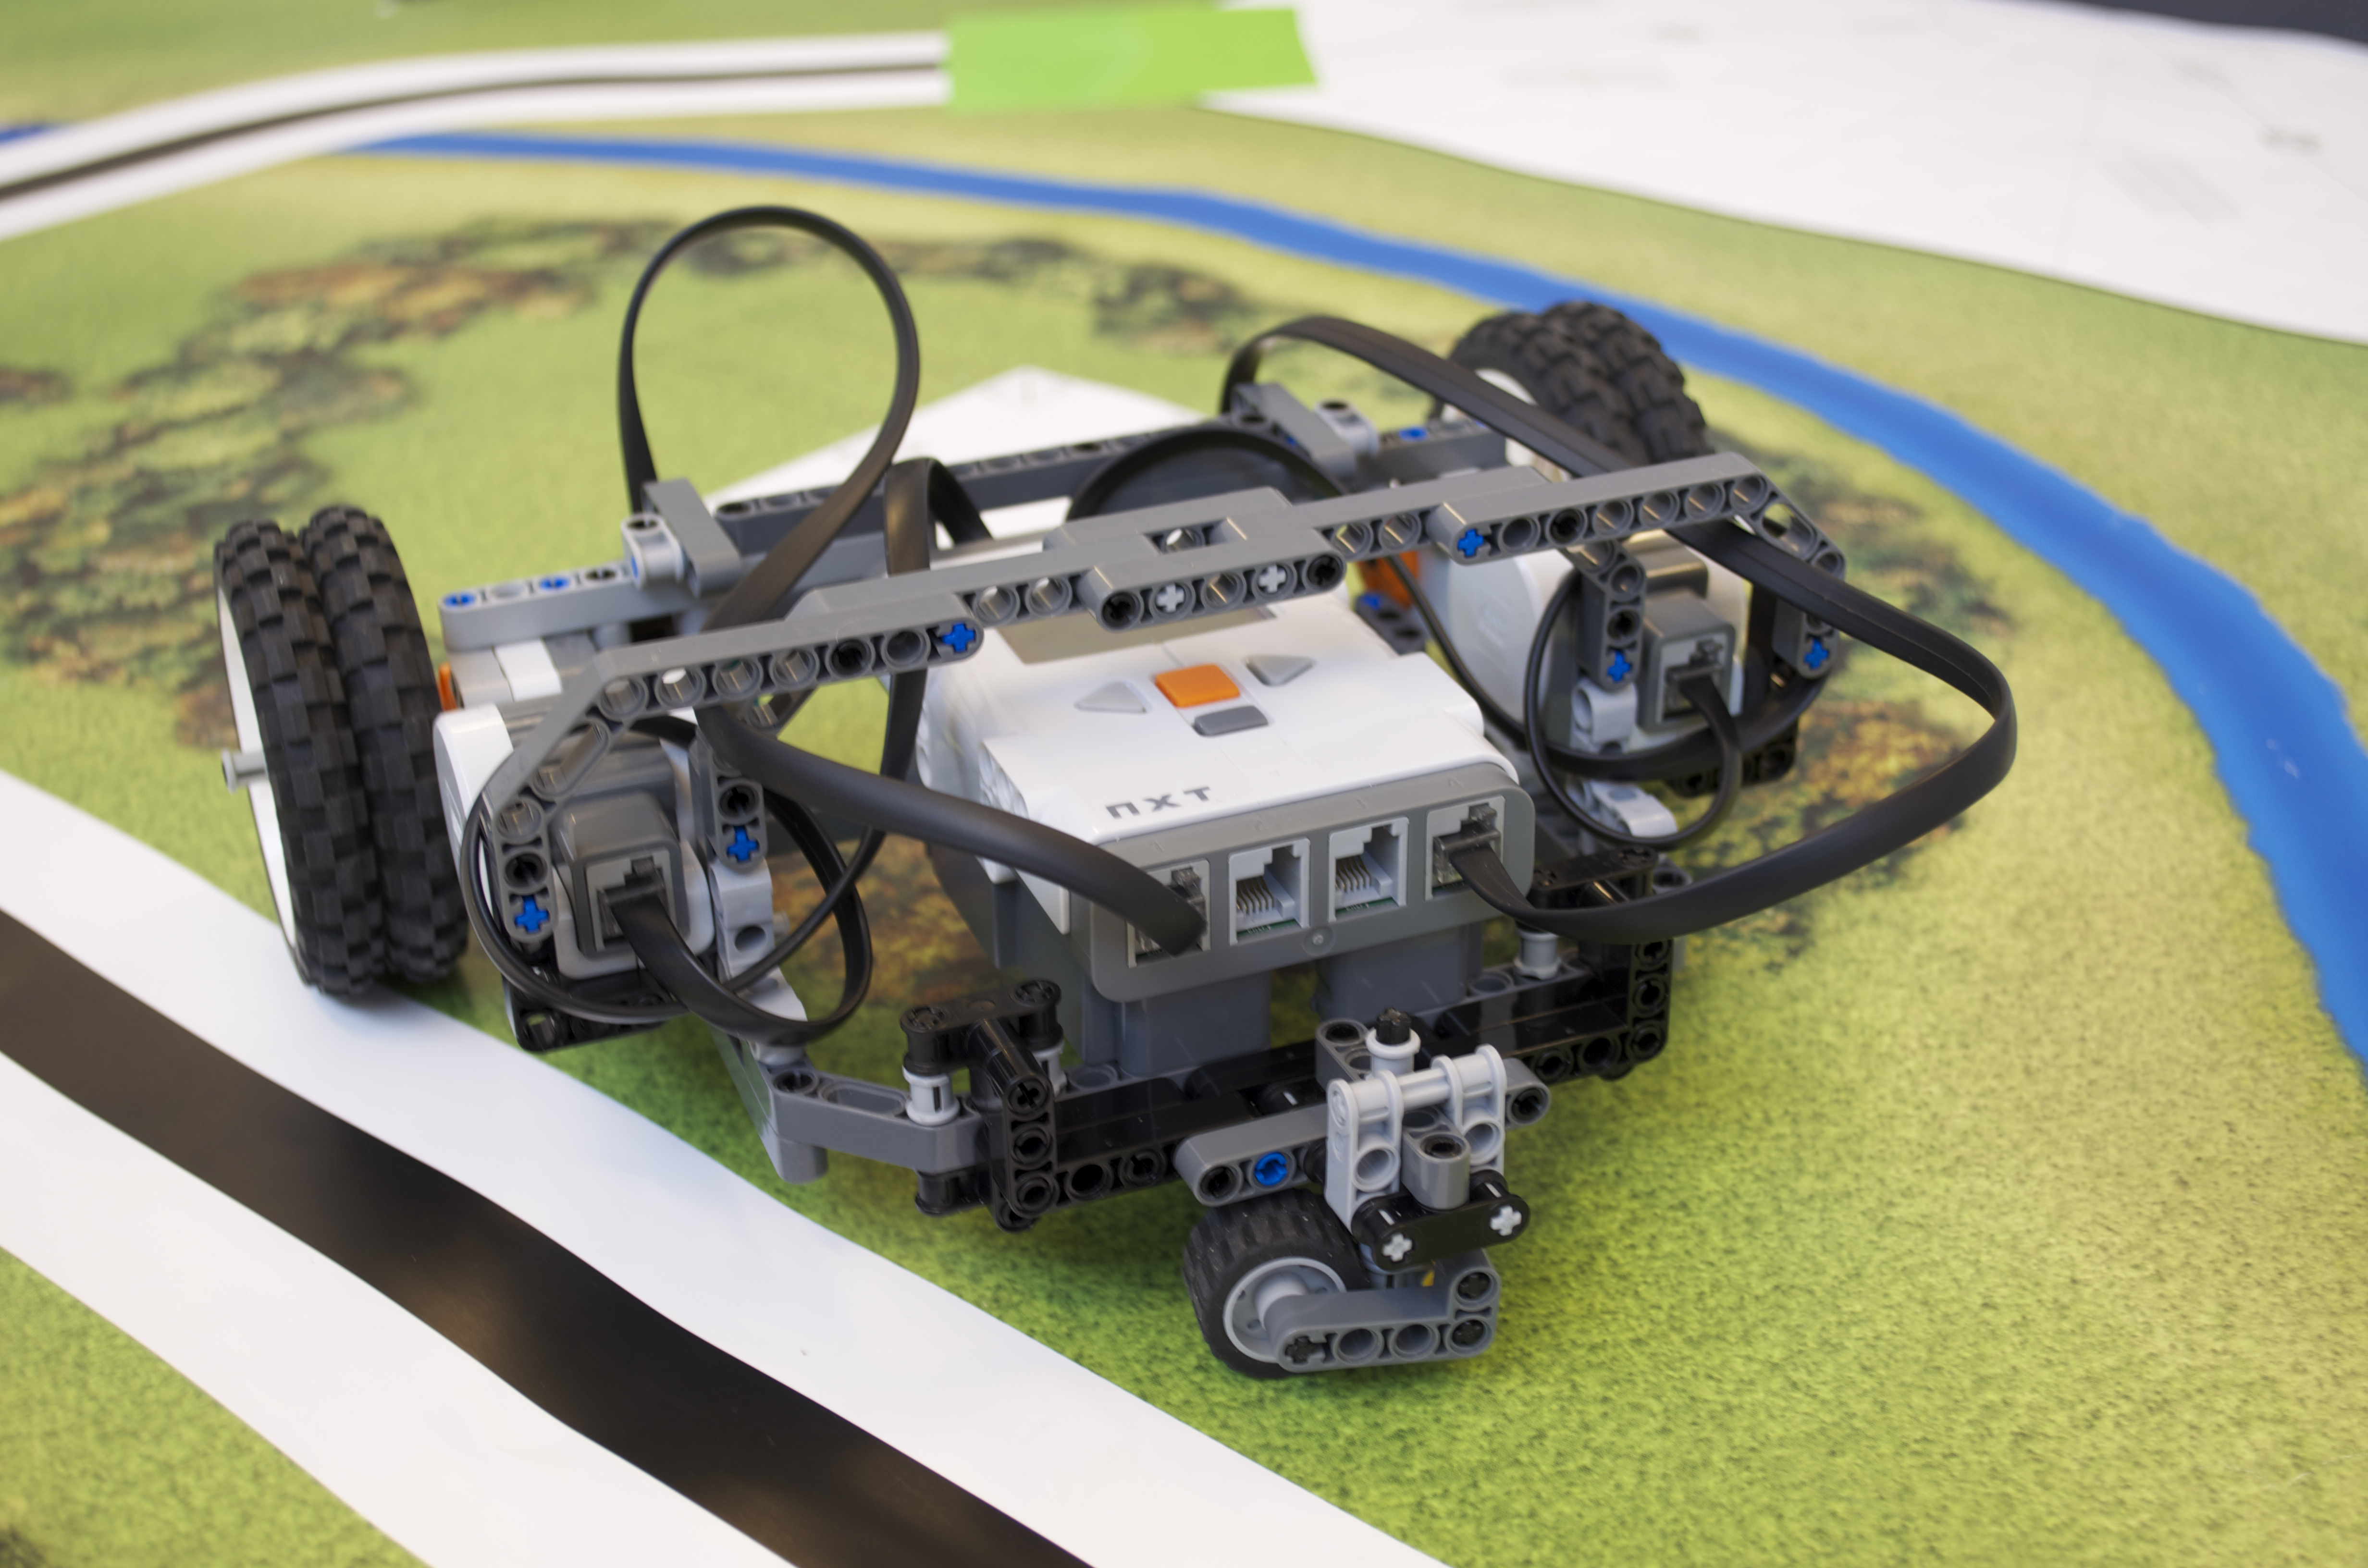
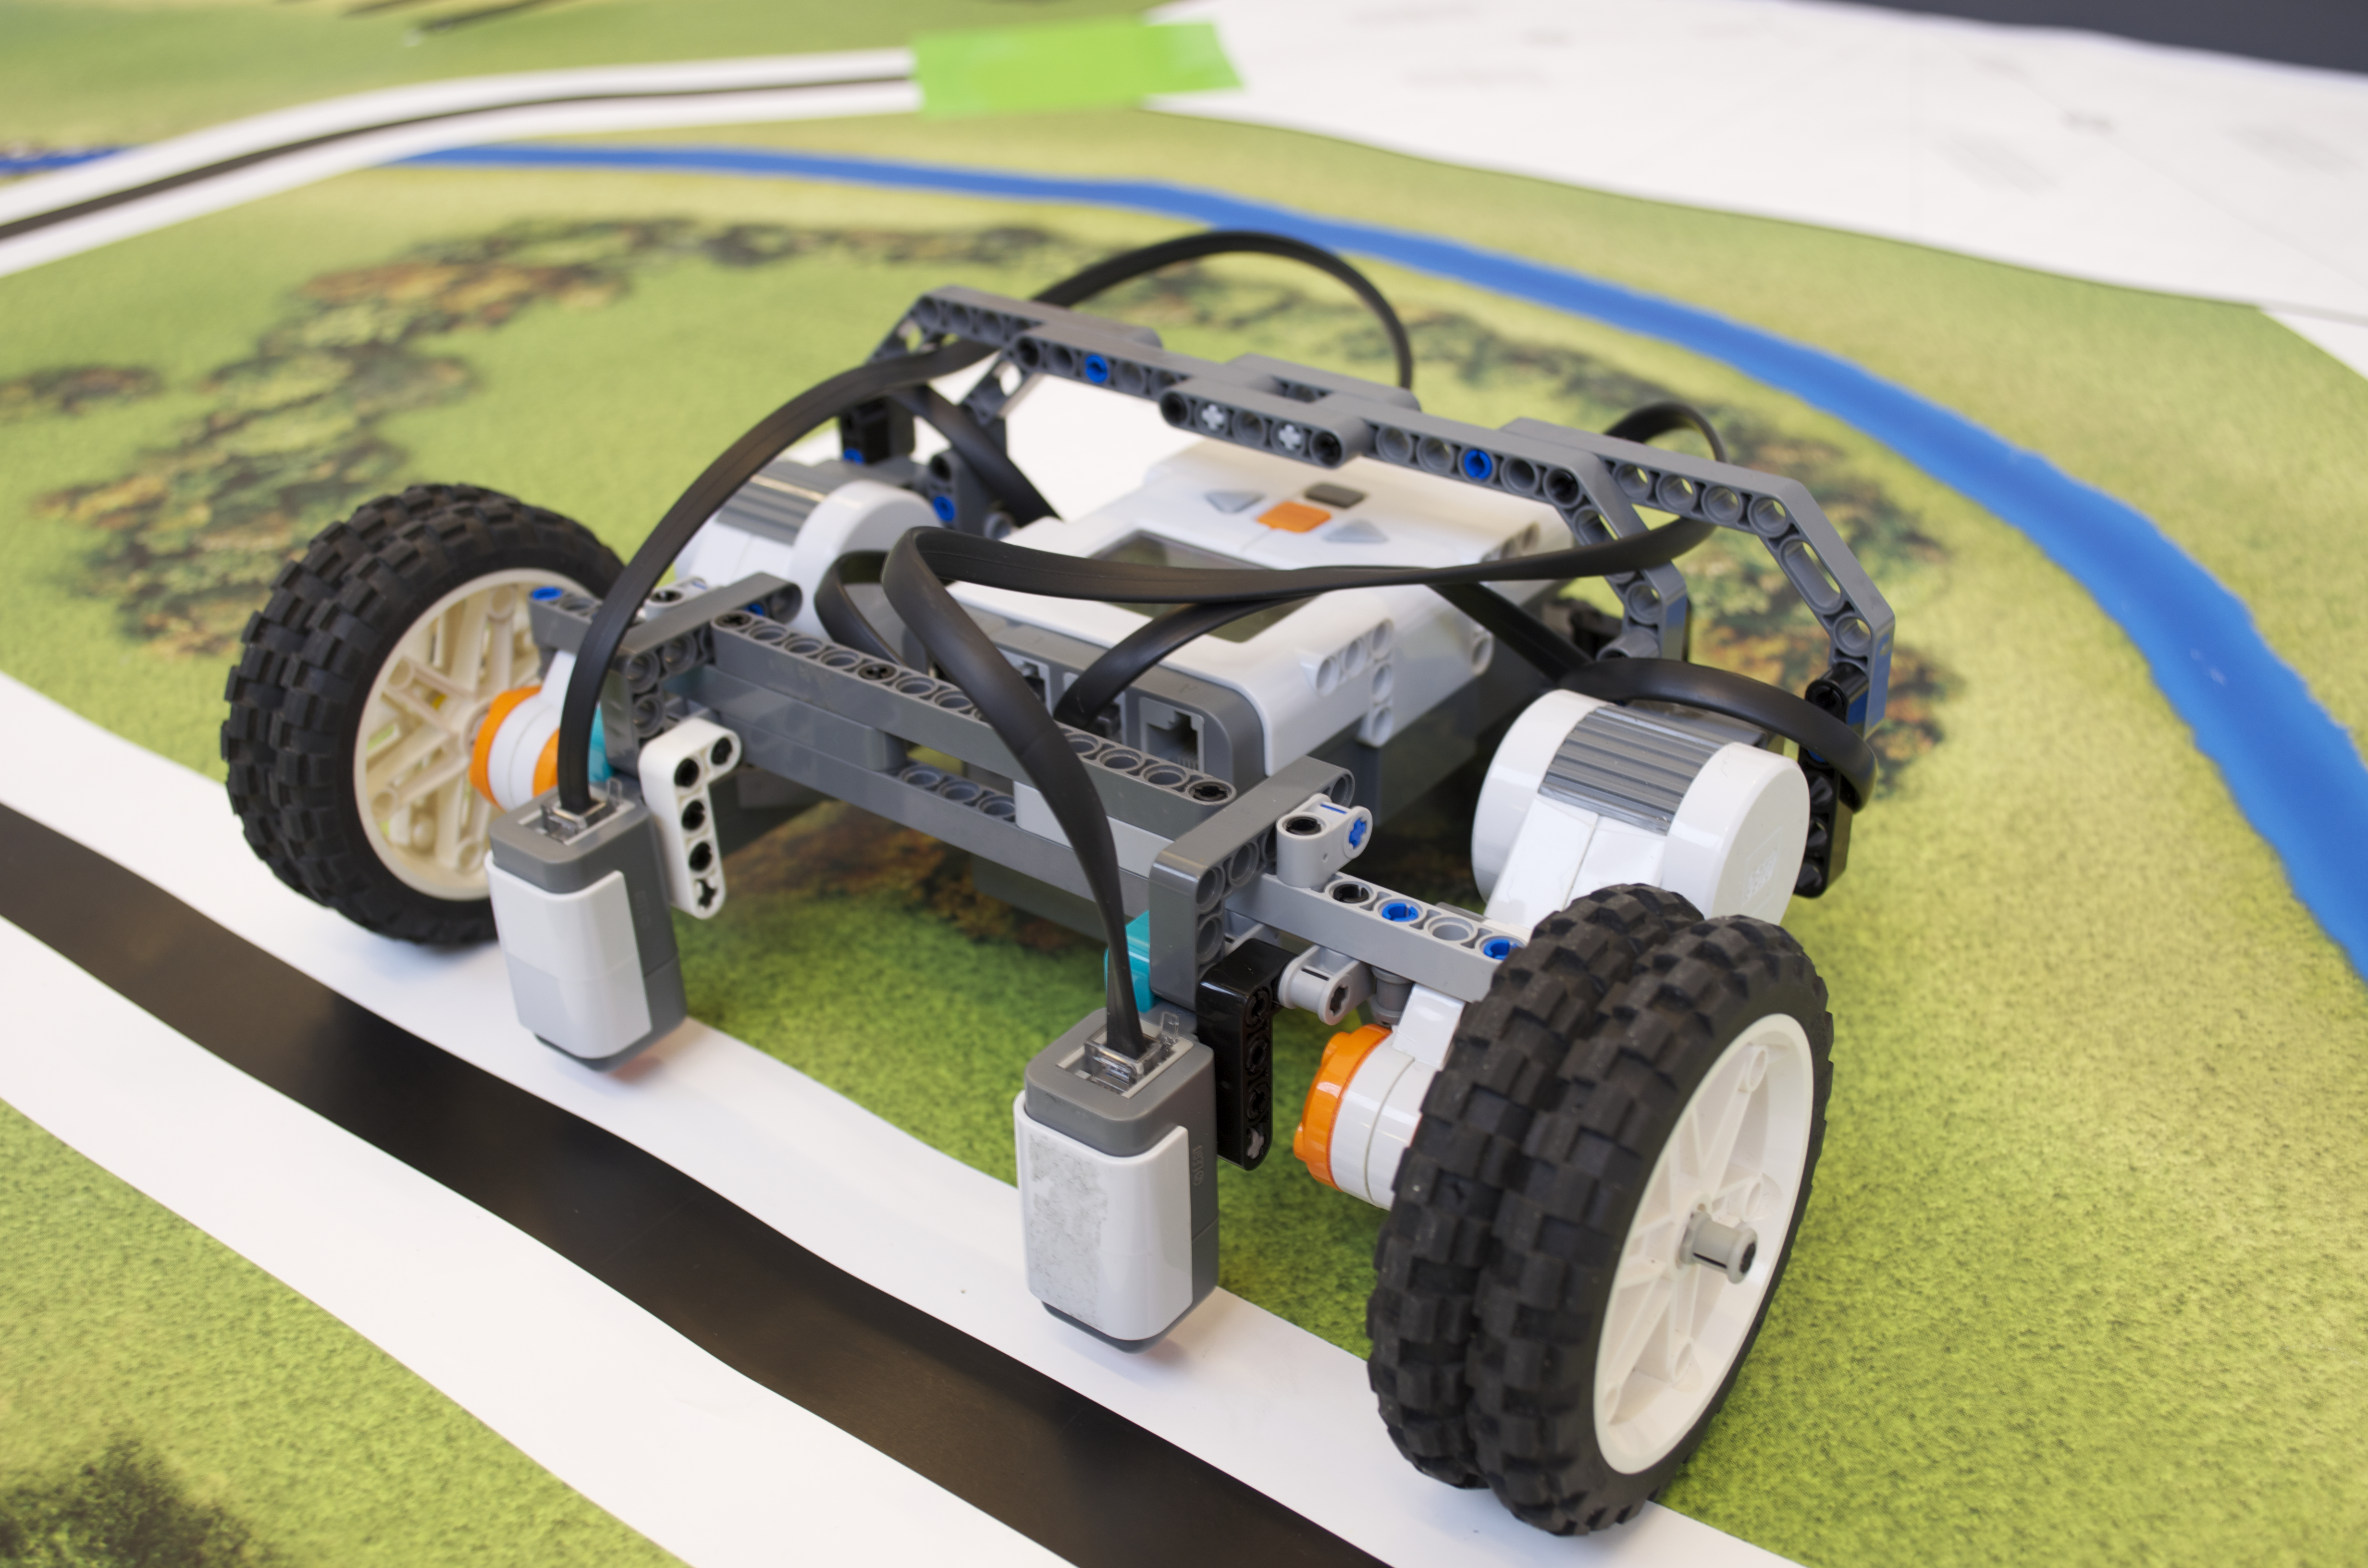
We’ve build the foundation of the car. The wheels are placed with the largest possible distance between each other, making the car turn with a big radius. This gives us the most control of the turn as possible. Each wheel consists of two of the large wheels (81.6mm diameter) next to each other for a larger amount of friction as the car will be moving uphill during the final test. Two light sensors have been mounted on the front of the car for detection of the black line on the train track.
Codewise, we have been able to make the car turn 90 degrees in both directions using the rotate() method in the DifferentialPilot class in lejOS. This did require a bit of trial and error as a call to rotate 90 degrees would cause a turn that was a bit over 90 degrees.
We are now using Bluetooth to upload programs to the NXT brick straight from Eclipse – making it easier when we are running code as attaching the USB cable is not required. This involved a bit of fiddling too, seeing as Eclipse attempts to upload the program to the brick that is first on the list of the discovered Bluetooth NXT bricks.
Video of the car turning
Video of the car driving forward
Testing various sensors
For directing the car we tested two different sensors so far: The compass sensor and the gyro. Both unfortunately presented some problems which means they will most likely not be used.
The compass sensor
This sensor was the first we tested. The idea was that we would measure the length of the slopes and the plateaus of the track and simply have the robot travel these distances while correcting itself according to the compass sensor. Basically the starting heading of the robot would be declared as the 0 degree heading and it would keep this heading until it would reach the plateau, do a 90 degree right-turn, travel the length of the plateau and do another 90 degree right-turn. Following this it would now have to follow a 180 degree heading up the second slope and so on.
Unfortunately the compass sensor proved to be very unreliable as sometimes a small change in the actual heading would cause large differences in the measurements of the sensor, a 1-2 degree turn could be measured as a change of up to 40 degrees in heading. Some research into the sensor also provided the information that it is very susceptible to interference from any object that has, or generates, a magnetic field. These objects could simply be nearby metal, but the motors and the NXT brick also generate magnetic fields when running which is most likely what interferred with our measurements as the sensor was quite close to both.
The gyro
The second sensor we tested. As we saw that the lejOS library had a DirectionFinder class based on using a gyro which could also measure degrees, this seemed like a solution akin to what we were trying to do with the compass sensor but less susceptible to interference.
Using this sensor was a more stable approach compared to the compass sensor but we encountered another problem with this: The gyro would, seemingly randomly, start drifting heavily in measurements, upwards of 2 degrees per second. We’re not sure if this is a general problem with gyros or the one we had. Looking into the source code for the gyro direction finder class we noted that it did take drifting of the sensor into consideration as it tried to compensate for it. We tried increasing this compensation by up to 10 times its original value but, unfortunately, to no avail as it would still drift and at this point the correction started affecting the measurements.